16 min read

Salla Blog
Salla Growth Team

They say a picture is worth a thousand words, and that is actually true, but in the e-commerce world, a picture is worth dollars. In fact, most people shop with their eyes!
Salla, the future of e-commerce, is an easy platform to start your business
Customers often visit online stores for the first time after being drawn in by a product image, so if they like what they see, they continue browsing, and we hope they make a purchase.
Do you see the previous scenario? This is the primary reason why product images are a key factor for the success of the e-commerce process. In this article, we will help you learn how to photograph products and display them professionally after you have learned the steps to create an online store and convert your potential customers into loyal ones.
The Importance of Product Photography

Imagine that an image alone is capable of achieving effective communication and influence on the emotions and decisions of shoppers, in a way that is stronger than any written content.
Because it is the first thing that catches a shopper's attention to your online store, and increases their curiosity to discover more about this product.
Images help people understand your products better. One of the things that the online shopping experience lacks is that customers miss out on the opportunity to physically interact with the product. High-quality product images - from multiple angles - help bridge this gap by providing customers with the information and details they need. Once customers can easily access the information they want, they are more likely to return for more.
Good images enhance branding development, making it more famous in a simple and effective way.
Your attention to photographing the details of your products accurately, and in an attractive way, gives you a great competitive advantage.
Good images increase the likelihood that customers will share your product on social media.
Now that you know well how high-quality product images can contribute to the success of your e-commerce site, you might be thinking of hiring a product photographer.
Professional Product Photography: Is it important for an online store?
Certainly, presenting your products with high-quality images could be the difference between conversion and not selling at all, because the value of the product is directly affected by the quality of the photography.
So:
Do I need to take a product photography course?
What about setting up a product photography studio and professional photography gear?
Do I need to collaborate with a product photography company?
Can I do it myself?
How can I learn the basics of setting up a professional product photography shoot?
We know that many of the previous questions are looking for answers, and we also know that product photography rates from a professional product photographer can be very high, especially if the budget is limited and does not allow for it.
However, through this article, we aim to shed light on the basics of being able to photograph products professionally at home. There are also hundreds of product photography tools that can help you set up a product photography studio in your home to make the job easier to do by yourself.
There is no single method for product photography; rather, there are many techniques used. But the technique I will show you now is designed specifically for business owners with a limited budget, as it is designed to be simple and achieve excellent, high-quality results for most types of products.
Product Photography Gear
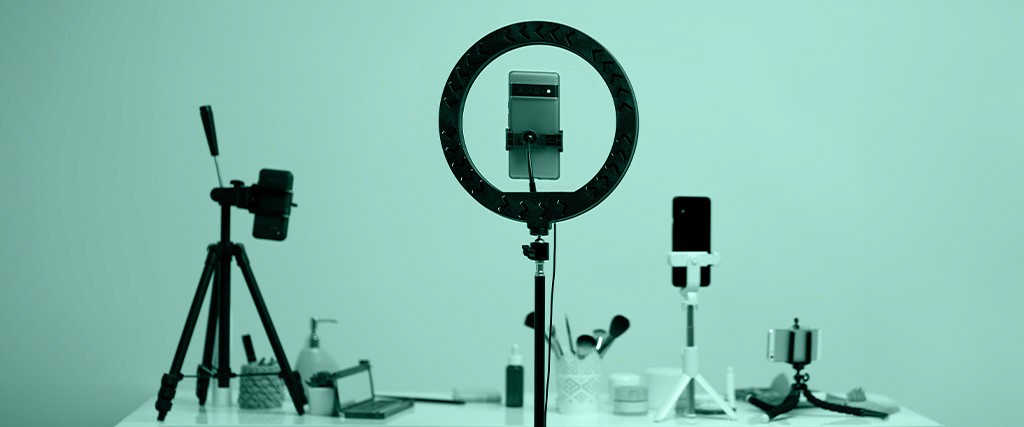
First, you need a dedicated space to build a studio. You don't need a large area, but the location you choose must be near a window with plenty of natural light and space for your product photography gear.
How to set up a professional photography shoot for products?
1- Camera
Initially, you don't need a camera with legendary capabilities, unless you have the budget to support that, in which case feel free to buy the best.
In fact, an image is made up of a set of choices that include: camera, lighting, presentation, styling, and post-processing; as you can see, the camera represents only one piece of the whole.
Whatever type of camera you choose – even if you photograph products using a mobile phone camera – you must read more about camera basics, angles, settings, and special effects for the photography process.
2- Tripod:
Image quality drops because of lighting and focus. If you've spent the time and effort setting up your studio and finding the right camera settings, you can't let something like "camera shake" affect your images, so tripods are essential, whether you're using a DSLR or a smartphone.
Again, you don't have to spend a lot of money on a tripod at this stage of your venture. There are many options available under $30. I did a quick search on Amazon and found one as low as $20.
3- White background:
When it comes to choosing a product photography backdrop, simplicity is always best. A white background is best for most products, to distribute lighting better.
There are also different options for choosing the type of backdrop for commercial product photography, including:
Paper backdrops
Ready-made and printed backdrops, most notably leaf backdrops.
Vinyl photography backdrops
White backdrops for photography with different options such as: plain white backdrops, white fabric backdrops .. etc.
Wood photography backdrops (wooden backdrops for photography).
To get a professional-grade photography shoot using home photography backdrops, all you need is to photograph products using a small white background!
There are plenty of options for obtaining a white background. If you'll be shooting a lot, you might want to get a photographer’s sweep, which is a large roll of paper used as a white backdrop when starting a professional shoot.
A product photography light box might also be helpful to you. It is a suitable alternative for smaller products, and it is easy to use, allowing you to photograph products at home and capture promotional products professionally.
Essentially, a product photography light box is a complete portable miniature studio with an LED strip as a light source and white plastic walls that act as reflectors. However, if you plan to shoot top-down or flat-lay photos, a product photography light box is not a good option.
You can get many alternatives via Amazon and AliExpress, ranging from less than $10 to more than $100.
Buying a number of white foam boards is one of the most inexpensive and fundamental things for creating a product photography studio in your home. Just remember while purchasing to look for pure white boards.
4- Folding table.
5- Tape and clamps to secure the white board.
6- Photography Lighting
Lighting in product photography is one of the most essential factors in professional product photography. Therefore, there are two basic types of product photography lighting:
Soft lighting: It is lighting that tries to show the product from all angles and without shadows, and it is suitable for 3D photography.
Hard lighting: It is lighting that relies on shadow as an aesthetic element in the image.
7- White reflector (Foam Board).
8- The right product photography dimensions for your online store
Don't worry about this, as with the Salla platform we will provide you with professional services in preparing, optimizing, and resizing images while maintaining the highest image quality, with ideal and equal dimensions and sizes.
Key manual camera settings:
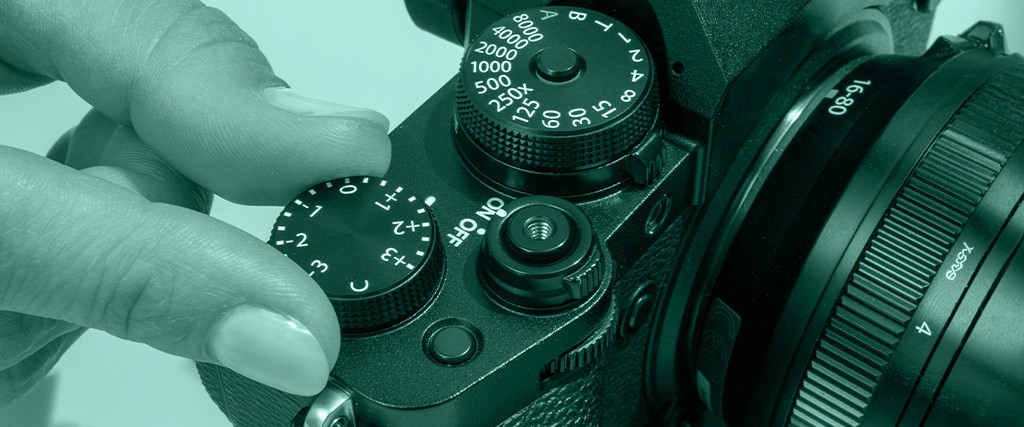
The big three manual settings you need to manage are: ISO, aperture, and shutter speed.
The ISO setting controls the camera's sensitivity to light. The dimmer the environment, the higher the ISO setting, but if you set up your studio as we explained and use sufficient lighting, you won't need an ISO setting higher than 400.
Your aperture settings (measured in F-stops) will determine the depth of field of the image, or how much of the image is in focus. The narrower the aperture, the higher the F-stop number, which puts more focus on the product.
The lens aperture controls the amount of light that passes through the camera lens, where lower F-stop settings
allow more light and create depth of field, while higher aperture settings (low F-stop) will create
an image with only partial focus.
The third manual setting is shutter speed, which refers to how quickly the shutter opens and closes. The slower the shutter speed, the more light the camera sensor is exposed to, resulting in a very clear image.
Ultimately, you will need to tweak using the three settings, but mostly most product photos will work well with an ISO below 400, a low aperture, and a slow shutter speed.
How to photograph products with a white background
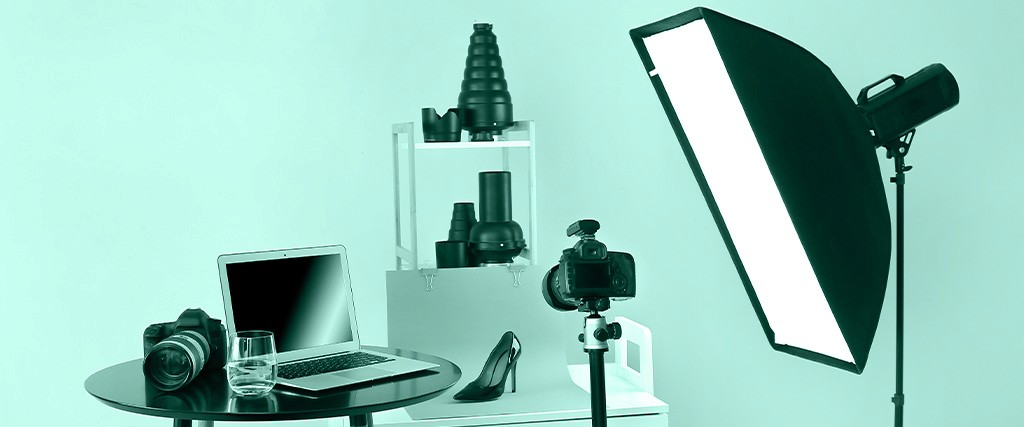
1- Set up the shooting area:
Place the table as close to the window as possible without shadows crossing from the window. Experiment until you reach the right angle, and also remember to turn off all other lights inside the room because these lights can affect the quality of the photography.
2- Set up the white board or its alternatives.
Photographing products with a white background requires a white board.
3- Adjust camera settings
Every camera has slightly different settings, but the benefit of setting up window light is that you can set all settings to auto.
How to adjust camera settings:
Set the White Balance (WB) to Auto (AWB).
Turn off your flash.
Set image settings to the highest quality (RAW or JPG) depending on what is available on the camera you use.
Mobile photography: How to adjust smartphone settings:
- Manual Camera Apps (iOS & Android Apps)
Smartphone camera settings do not allow as much flexibility as cameras, but you can control them a bit more using some helper apps such as: Gizmodo, Manual, and Camera FV-5, which are rated the best for iOS and Android.
- Zoom and Flash
Avoid using zoom functions as this decreases image quality, and flash destroys the lighting environment you set up earlier.
- Filters
It is preferred to avoid using filters in product photography. However, taking some time to look at filter structures on Google and Instagram will help you know the manual settings needed to create specific images.
- External Lenses
You may be tempted to invest in specialized lenses, such as Fisheye and Macro options. They may be useful for certain types of photos, but they do don't offer much for traditional product shots.
In general, experiment with many choices widely, but do not let it get out of hand. The goal here is to build a visual experience that results in purchases.
4- Prepare the product to start shooting
Preparing your product is one of the things that seems simple, but there are often many movements and micro-adjustments required to arrange every element perfectly.
5- Set up the reflector board
Experiment with it at different angles until you reach the best position.
6- Take the photo
And evaluate it as soon as you capture it until you get the best shots.
7- Optimize product images
Use some software or apps to further optimize images. If you do not have the skill to use Photoshop and Lightroom, you can try some apps like Pixelz.
Another simple trick that can be done is background removal, which can be done with free online tools such as Clipping Magic by isolating the product from everything else. The image will end up with a completely transparent or white background.
This will maximize contrast and increase the viewer's focus on your product.
Product Photography Basics: 4 things you must do before you start shooting your products
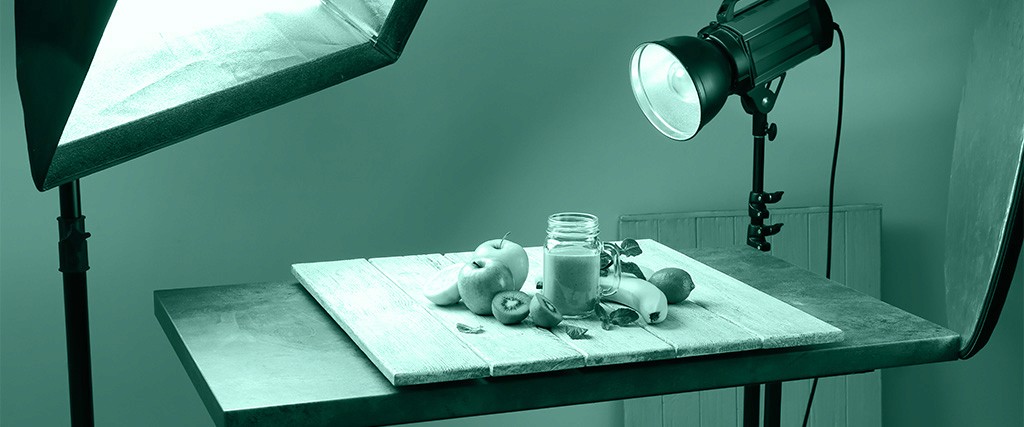
Whether photographing products with a white background or otherwise, we advise you to do the following:
1- Check your competitors' sites to see the angles and shots they use to inspire product photography ideas similar to your product and by following strategies for targeting new customers.
2- Search on Google Image Search or Pinterest for your product, and look at lots of product photography ideas similar to your products.
3- Search for forums and communities that contain your segment and target audience; to see what kind of questions are being asked
about your product, then try to answer these questions in your images.
4- Contact the manufacturer and ask them about the most common questions about your products, or read their FAQs,
and also try to answer these questions using your images.
Here are the top 7 things to consider when planning your product shoot:

There are many clever ideas to know hidden and smart secrets in the advertising photography process, and what are the most outstanding factors you must consider to obtain a final result resembling professional advertising product photo shoots, and among these things you should consider:
1- Choose a specific number of photos.
The first thing you need to consider when planning your product photography is to determine the number of images you want to display for each product on your site.
If you are selling many products in your store, you might not want to display too many images, but it is important to keep the number consistent for each product. As a general rule, consider showing three images for every single product.
2- Use every image to highlight benefits.
In addition to displaying multiple photos, think about how you can use the image to show off the product's benefits.
3- Show all colors and patterns as much as possible.
Does your product come in more than one color or style? For example: if you are selling a watch in different colors, don't just take one picture of the watch in the most popular color.
Make sure you show your visitors the many colors and styles of your product, because tastes differ.
4- Make your photos interesting
The more appealing your product photography method, the higher the likelihood of a sale.
5- Reuse images.
When product images are captured correctly and in high quality, you can reuse these images across a range of different channels.
6- Be consistent.
As a product photographer, every element of your image must make sense in the context of your story. All objects being photographed need to fit with one another in terms of color, height, and shape.
For example: if you are photographing a body wash with a woody scent, you could shoot it on a wooden background with some pine, twigs, and leaves as props. These elements work together and send a visual message to the customer about the scent of the product, which might be the main selling point.
7- Understand spacing and dimensions
The overall composition of elements and understanding spacing and dimensions is absolutely essential in any kind of still life photography.
The elements of the image must be distributed in a way that respects dimensions and the size of the objects appearing next to each other and next to the product,
Beware of making them look too large and taking attention away from the product.
Ideas for using your product photos on your website

1- Plain white background without any distractions
MVMT Watches
2- Realistic image
Shots showing your product in use
3- Show close-up details
These shots can show the fine details of the product or how an aspect of the product works.
4- Show size
Comparing your product to something else to show its size helps the buyer know the size of the product to make sure it is what they need as well as to reduce the chances of returning the product.
Ideas for images at the top of the home page
There are many ideas for the product photography process, and also there are types of product images that require certain basics and angles for a professional and optimal shoot. Among the types of professional product images:
1- Show product in use
A shot displaying the product in use is a great way to create a striking banner. Make sure while shooting to leave empty space around the product to add text, such as price, benefits, and others.
2- Show a collection of products
3- Show product only
Tu'el Skincare
How to use your product photos on social media platforms
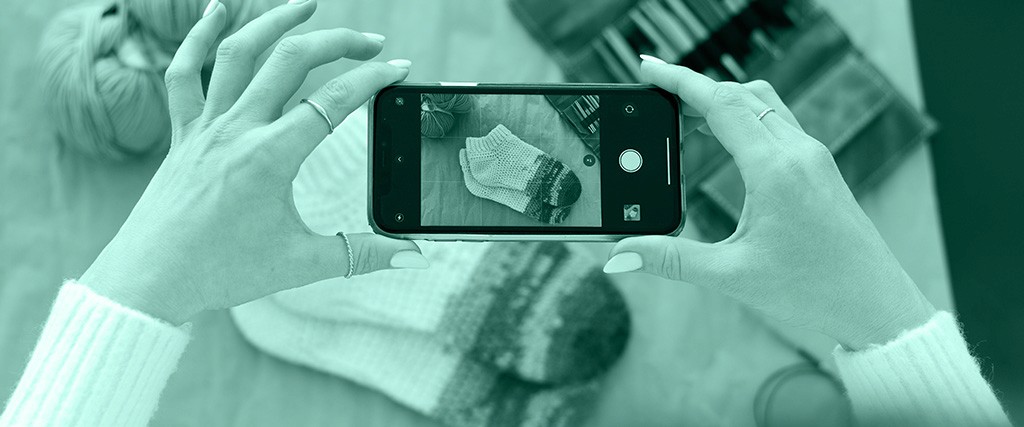
Social media is like a beast that needs a lot of fresh images, so you need to take many photos of your products to share them from different angles.
Learn about the appropriate image sizes for all social media platforms for the year 2020
How to use product images in digital marketing campaigns
You may need product images to run ad campaigns on Facebook. The images must be attractive to encourage customers to click through to your store. There are plenty of different ways to do this.
Dimensions: 1200 x 628 pixels (2: 1.1)
Images used to run GOOGLE campaigns
Unlike Facebook ad images, Google Shopping images must adhere to very strict rules.
These images must have a pure white background with only the product displayed, without any props or distractions.
Dimensions: 800 x 800 pixels (1: 1)
You might be thinking now that you are not a professional yet to do this job, but that doesn't matter at all. It is very simple, it just requires some focus on your part, following the previous tips, and you can also follow professionals through websites and YouTube.
Conclusion:
Product photography is important and impactful in increasing your online store's visitors and sales. Also, setting up a product photography shoot at home has become easy and can be executed professionally.
When you work on product photography, the quality of images plays a big role in influencing people's decisions to complete purchases. Despite this, you can perform this task yourself with the highest quality like professionals and at the lowest possible costs. All you need is the previous product photography gear while following the steps we covered with you in this article.
Remember the importance of product photography.
Should I hire a photographer for my site's products?
Steps and method of product photography.
The type of equipment you need to photograph products like professionals at lower costs.
1- Camera.
2- Tripod.
3- White background.
4- Folding table.
5- Tape and clamps to secure the white board.
6- White reflector card (Foam Board).
Key manual camera settings.
How to photograph products on a white background step-by-step.
4 things you must do before you start shooting your products.
Top 7 things to consider when planning your product photography.
Ideas for using your product photos on your website.
Ideas for images at the top of the home page.
How to use your product photos on social media platforms.
How to use product images in digital marketing campaigns.

Salla Blog
Salla Growth Team
189
Article
Featured author
Photography
Professional product photography at the lowest cost
They say a picture is worth a thousand words, and this is indeed true, but in the world of e-commerce, a picture is worth dollars. In fact, most people shop with their eyes!…
16 minutes read
Salla Blog

Photography
Your guide to professional product photography
Salla is the future of e-commerce, an easy platform to start your business. Professional product photography is considered one of the essential elements of online product marketing. When the beneficiary takes a look at the product image,...
10 minutes read
Salla Blog